Bases are one way to pull your miniatures together as a unified force to behold. Most of us want our bases to be a part of our design scheme but we don’t always want to spend a lot of time sculpting intricate bases. This method will give you interesting results with minimal effort.
One of the first bases that you might want to try is a simple cracked earth base. These are simple to make and look a lot better than sanded bases that most of us start with. All you need is a pot of Agrellan Earth, the base that came with your mini, and any finishing touches that you like.
The steps that I will cover are:
- Paint your base
- apply Agrellan Earth
- Apply finishing touches
I made this video tutorial to go along with this article.
Paint Your Base
You are applying texture to your base that has a high shrinkage rate. This means that as it dries it will shrink much more than the paint you are using. As it shrinks, cracks will form in it naturally. You don’t need to do anything special to get the cracks.
Once it shrinks and cracks, the layer below will be visible. I have found that by painting the base you have something interesting showing through rather than just plain black plastic. It is also very difficult to get paint into the cracks after they have formed.
I have made these bases with bright orange swirls that resemble lava or fire. I have also made these with bright green and purple to represent magic seeping up through the earth to power the caster standing on the base. For the base in this example, I primed it white and then painted it purple and pink randomly.
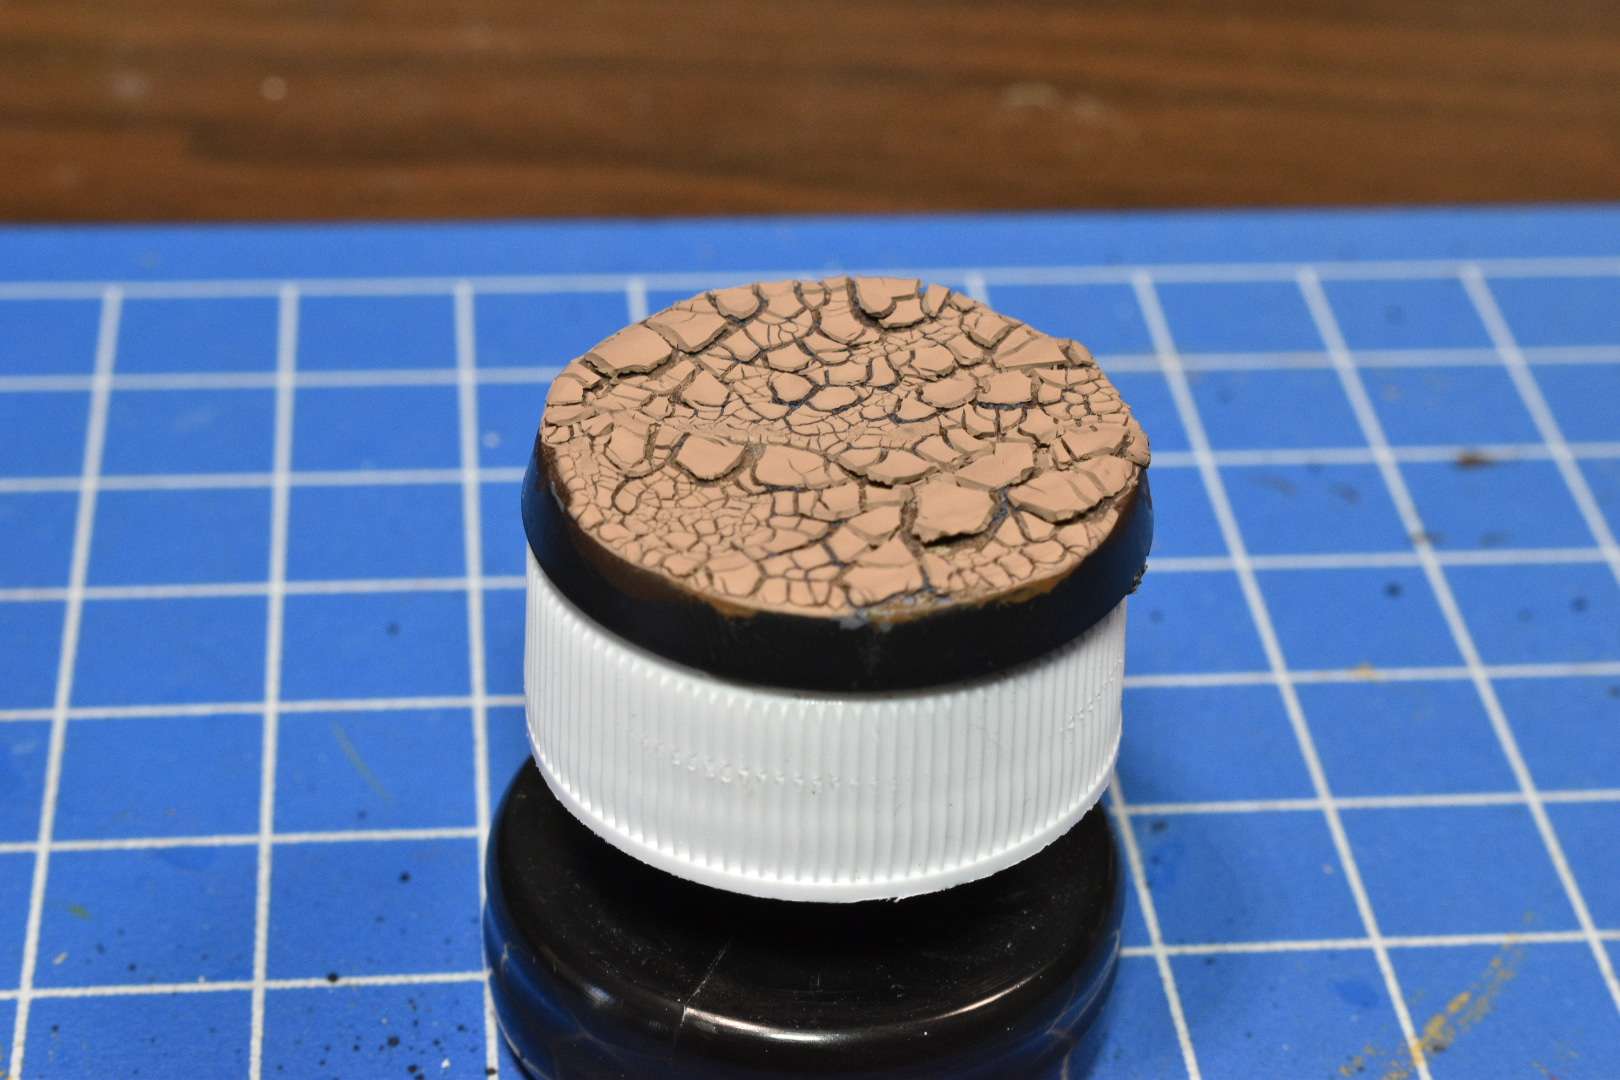
Apply Agrellan Earth
This next sentence might be the most important in this article. Make sure that you stir the pot of earth before applying Agrellan Earth to your base. This has a lot of substance to it and it tends to settle to the bottom. The part left at the top will still be much thicker than paint so you may be tempted to use it. But if it is too thin the cracks will be less desirable.
When you apply the Agrellan earth the thickness really matters. If you want large chunks of earth with fewer cracks get it as thick as you can. A thin layer will result in a lot of fine cracks that leave small chunks of the earth in between.
Apply Finishing Touches
Dry brushing can add some color to the edges of the You can glue items to the surface of the finished base to give it variety. Make sure you don’t get too aggressive, but you shouldn’t have too much trouble with it.
Gluing items to your base after you dry brush can give it some nice variety and bring the bases into cohesion. Clumps of desert grass can really make it pop. I recommend adding things like rocks before you do the Agrellan Earth because it will look like it is protruding from the ground rather than sitting on top of it.
Do you need to Seal your Base?
There are some out there who recommend sealing this type of base because it can be brittle. There is some truth to this. If you don’t stir your pot of Agrellan Earth before you apply it, you will have trouble with it flaking off easily.
However, I have never had much trouble when I have stirred the pot properly. It adheres well to your base and any objects that you have placed on it before it is dry.
If you decide to seal this type of base use the flattest sealer you can find. Shine will defeat the look of the Agrellan Earth. The flatest clear coat that I have found so far is Alclad II Klear Kote Flat it is a lacquer so only use it in a well-ventalated area. If you have found a better product that isn’t so stinky let me know in the comment section at the bottom.

Attaching your mini
Because your base is covered with a substance that mimics dirt you may be wondering how to attach your mini to the base. There are a couple of good options.
If your mini is one that would be hefty and sink into the ground like a troll or dragon, you can place it on the base after you paint it but before you apply the Agrellan Earth. This will give it the look of sinking into the dry brittle ground a little bit.
If you have a normal size mini that would look a bit off sinking into dried earth, then you should consider pinning it to the base. Simply use your pin vise to drill a hole through your base and a matching small hole into the heel of your mini. Insert a small brass rod into the heel of your mini gluing it into place with strong glue. Then pass the rod through the hole that you glued into the base. Trim it to length with your nippers and then glue it to hold your mini.
For a more in-depth explanation about pinning your minis to bases including pictures, I have an article about pinning your models to the bases that you can read here.
Alternatives
You can mix a few drops of paint or ink to change the color a little bit, but adding too much will dilute it to the point that you won’t get cracking.
These are my recommendations of things that I use all the time when painting miniatures
The Starter Paint Set That I Recommend for small budgets
The Starter Paint Set That I Recommend for large budgets
I like to listen to books on Audible while I paint
Check out these retailers to find hobby products
HOBBY STORES
USA / Canada: Noble Knight Games : eBay (US) :
UK: Element Games : Forbidden Planet
Global: Amazon : Redgrass Games : Warcolours
3D PRINTING
Anycubic : Elegoo : Creality : Sunlu : Flashforge : Matterhackers :

